The Ultimate Guide to Vinyl Audio Recording: Techniques and Tips
In an age dominated by digital audio, the enchanting warmth and tactile nature of vinyl records have created a resurgence among audiophiles and budding musicians alike. The process of recording on vinyl may seem daunting, but with the right techniques and a sprinkling of creativity, anyone can achieve that rich, nostalgic sound that vinyl is known for. Join us as we dive into this ultimate guide to vinyl audio recording, packed with techniques and tips that will elevate your recordings to the next level!
Understanding the Vinyl Process
Before getting into the nitty-gritty of recording, it’s important to grasp how vinyl works. Unlike digital formats, vinyl captures sound through grooves cut into a physical disc, making it a true analog experience. This characteristic is what gives records their unique warmth and depth—a sound that many musicians and listeners yearn for.
Essential Equipment
- Turntable: A high-quality turntable is essential for both playback and recording. Look for one that minimizes vibration and has adjustable speed to ensure accurate performance.
- Preamp: A dedicated phono preamp is crucial for amplifying the signal from your turntable to line level, which is necessary for recording.
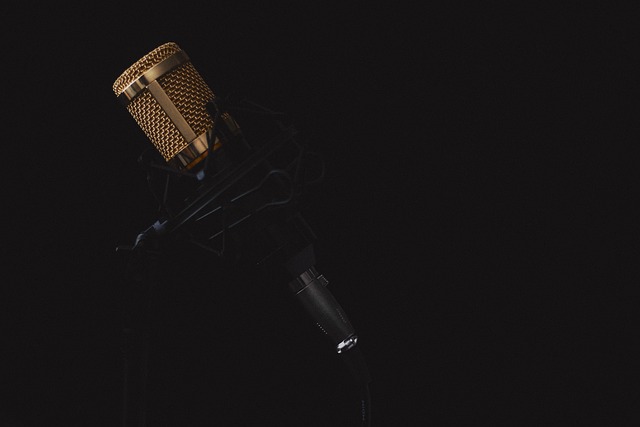
- Microphone: Use a quality microphone to capture the audio. Dynamic or condenser mics can be ideal depending on your setup.
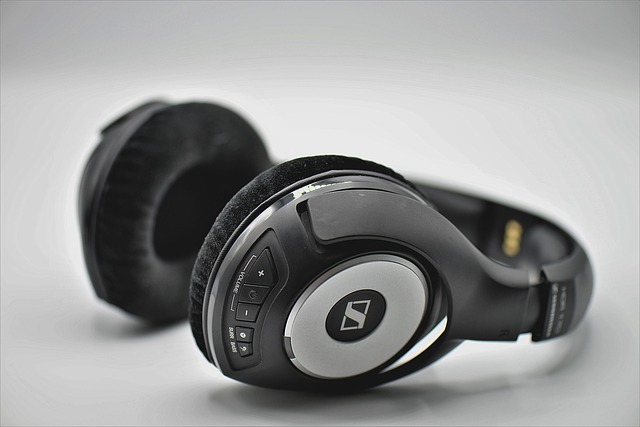
- Audio Interface: An audio interface bridges your recording instruments and software to your computer, ensuring that you capture the highest quality sound possible.
Recording Techniques
Now that you have your gear ready, let’s explore some practical recording techniques that will help you capture that beloved vinyl sound:
1. Optimize Room Acoustics
The environment where you record plays a vital role in audio quality. Invest in acoustic panels, or use furniture and soft furnishings to minimize reflections and echoes. A well-treated room will give your recordings a professional edge.
2. Experiment with Microphone Placement
Placement is key to capturing the right sound. Try different microphone positions relative to the record player and the speakers. A slightly off-axis angle can create a more natural sound, while placing the mic too close might lead to distortion.
3. Use Vinyl Emulation Software
For those just starting, vinyl emulation plugins provide the warm sound of vinyl without requiring the expensive gear. These tools can simulate the characteristic noise floor and warmth of vinyl, which can be a great starting point before moving into physical recording.
4. Record at Higher Quality Settings
When you’re ready to make the leap to recording, always opt for the highest quality settings. Use lossless formats like WAV to maintain audio integrity. This practice ensures that your recordings keep the depth and richness that makes vinyl so special.
Post-Recording Tips
Once you’ve recorded your audio, the next step is ensuring it maintains that true vinyl quality through editing and mastering:
- EQ Adjustments: Use equalization to bring out the warmth in your recordings. Tuning the low-mid frequencies can help achieve that classic vinyl vibe.
- Adding Compression: Subtle compression can enhance the dynamics of your recording, focusing on the overall loudness and punch without sacrificing clarity.
- Finalizing the Track: When you finalize your track, consider how it will translate onto vinyl. Pay attention to linearity and avoid unnecessary peaks that could cause skipping on the medium.
Final Thoughts
Recording on vinyl is a labor of love that brings out a rich, sonic experience cherished by many. With the right techniques, an understanding of the process, and a passion for sound, you can create recordings that truly resonate with listeners. Embrace the journey of vinyl audio recording, and let every groove tell your unique story.